Showing posts with label ebrush. Show all posts

Thursday, June 26, 2014

Airbrushed Coffee Filter '4th of July' Wreath

Airbrushed Coffee Filter '4th of July' Wreath

RED, WHITE, & BLUE! 

Is everyone else super excited about the USA in the World Cup?! My husband seriously is on cloud 9! Here are casa de Gibbons, we enjoy soccer. And lately, the patriotism has become quite strong! To celebrate, and replace my sad Easter wreath, I decided to create something for the 4th of July using my eBrush!

 Plus my door was basically begging for the change. It still had the Easter Egg wreath hanging and the little eggs had gone from bright and colorful, to white from the being sun bleached

Yeah... 

So, I went into my craft room and I found a wreath form in white styrofoam that I had bought months ago.. (i have a habit of buying on sale, and with no real project in mind..:/)

I went to the store and bought some white coffee filters & toothpicks, and decided i would do a coffee filter wreath like this one.

But, I was going to add a little twist by adding color with my eBrush! 

This is how it turned out:
Fun huh?

Here is how I did it: 

           Step 1: Place coffee filters on wreath form. I just used two coffee filters at a time, folded them in half, and then once more until it looked like a flower. I used two toothpicks to pin down on the wreath. Not gonna lie, it took a long time! So, I suggest buying a wooden wreath form and hot glue the coffee filters!


Step 2: Used my eBrush and Spectrum Noir Markers (Red & Blue) they came in the HSN bundle! I simply sprayed the wreath in the inner part of the wreath in blue and then used read on the outside.  You need a few coats of color to really get the vibrant look, but it takes no time at all! Just go over it a few times.  The great thing is that you can't mess this project up! You just keep airbrushing until the color is they way you like!


Step 3: Using my digital die cutter, I cut out the word: 4th of July and some stars with glitter chipboard, and hot glued on the front of the wreath.


Here it is outside where it was more sunny! ^

The result is this really fun, festive look! Your guests will be ready to party the moment they come to your door! 

GO USA!

I hope you enjoyed this project!


Jazmin

Monday, June 9, 2014

Airbrushed 'To-Do' List/Summer Fun with the eBrush by Craftwell!

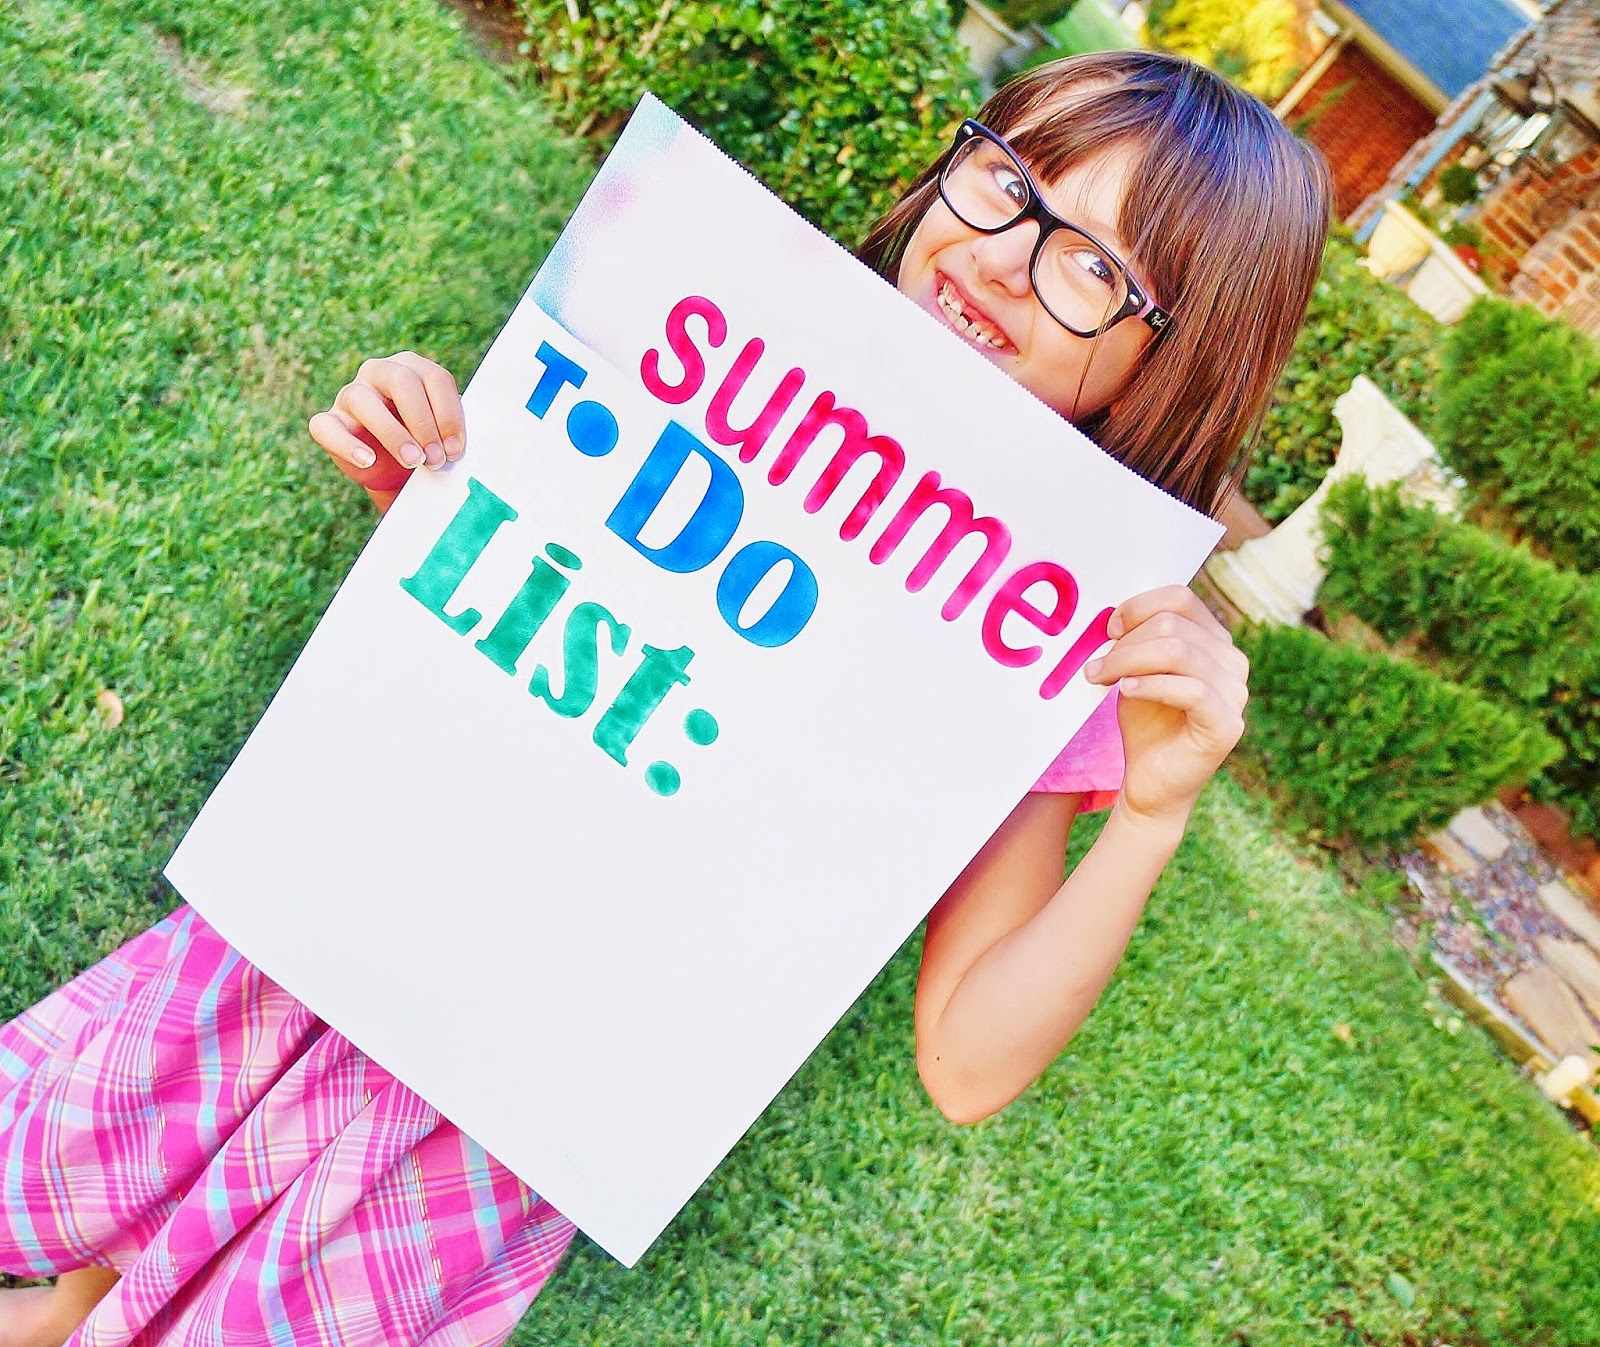
Airbrushed 'To-Do' List

It's Summer! And my plan is to post more kids crafty projects over the next few months! I love that my kids are out of school! And I'm really wanting to plan activities for the next few months, because I don't want the kids planted in front of the tv 24/7... SO, kid projects it is to keep their minds busy! 

And speaking of kid projects, I have to tell you about my new favorite toy...

Introducing the eBrush by Craftwell! This nifty little tool will have you airbrushing anything and everything in sight! 

So, the eBrush is an air compressor that turns markers into airbrush paint. It's sooooooo fun, and simple! So, simple, my 7 year old daughter Olivia is turning into a total pro! Great for kid art time! -And equally great for mommy craft time! Seriously, I have sooo many projects in mind! Stay tuned!

So, every summer it seems that we end up in a rut. We sort of love swimming, and watching movies, and that's fun an all, but the kids really do need more stimulation. So this summer, I decided to have the kids write down things they want to accomplish during the next few months. This way, if we ever don't know what to do, we can reference our 'Summer To-Do List' and check off something we haven't done.

Well, today was their first official day of summer (the weekend didn't count) and what do you know? it was cloudy and rainy!...... FUN!!!!!!!!!!

Yeah, a 10 & 7 year old with energy to power a city, and the day was not cooperating! 

Panicked,  I went into my craft room and introduced the kids to the eBrush!

We decided to create a poster with our to do list, and we used the eBrush to decorate the paper!

Olivia is my little mini-me and decided she wanted to tackle the project. Matthew was busy writing down ideas of what to do, so that was helpful. We divided and conquered! 


MATERIALS USED: 

+eBrush by Craftwell w/ Spectrum Noir Markers (all three are included in the HSN bundle!)
+Poster paper
+Cardstock (for our word templates)
+Digital die cutter to cut out the words: 'Summer','To-Do', and 'list' 
+Elmers Spray Adhesive


We used cardstock to cut out the words and sprayed the back with a little bit of elmers spray adhesive so that the template would not move. 

Olivia popped one of the markers into the eBrush and started to airbrush on the templates! So easy!


When she was done, she just gently pulled the cardstock template off the page to reveal the words!


She did the same process for the rest of the poster, and voila! 

DONE! 

Now, we are about to write things down on our list and hang it in the living room! 

We will have a guide to make this summer the best summer ever!!!!


Want an eBrush? Then tune in June 11th on HSN for it! The bundle includes the markers, the machine, and several adapter tips for most popular brand of markers! 

Happy Summer!

Jazmin